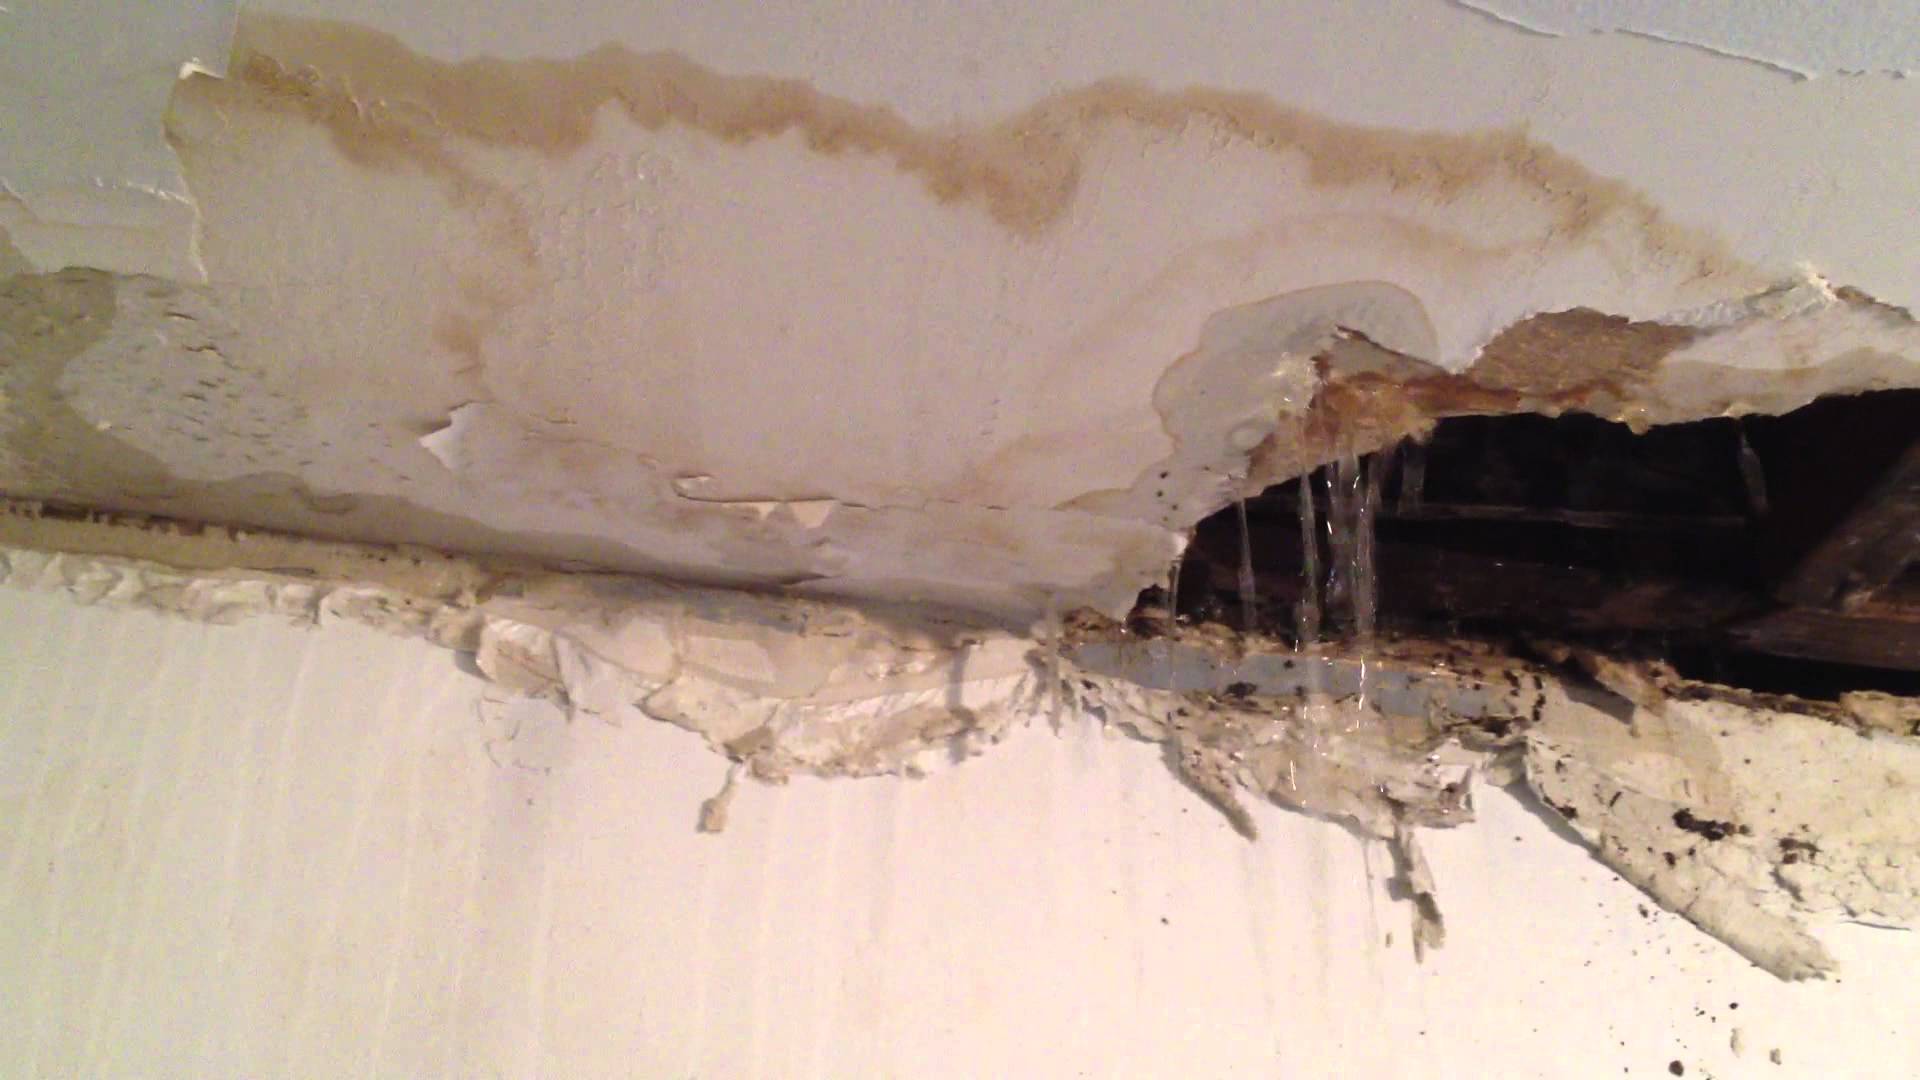
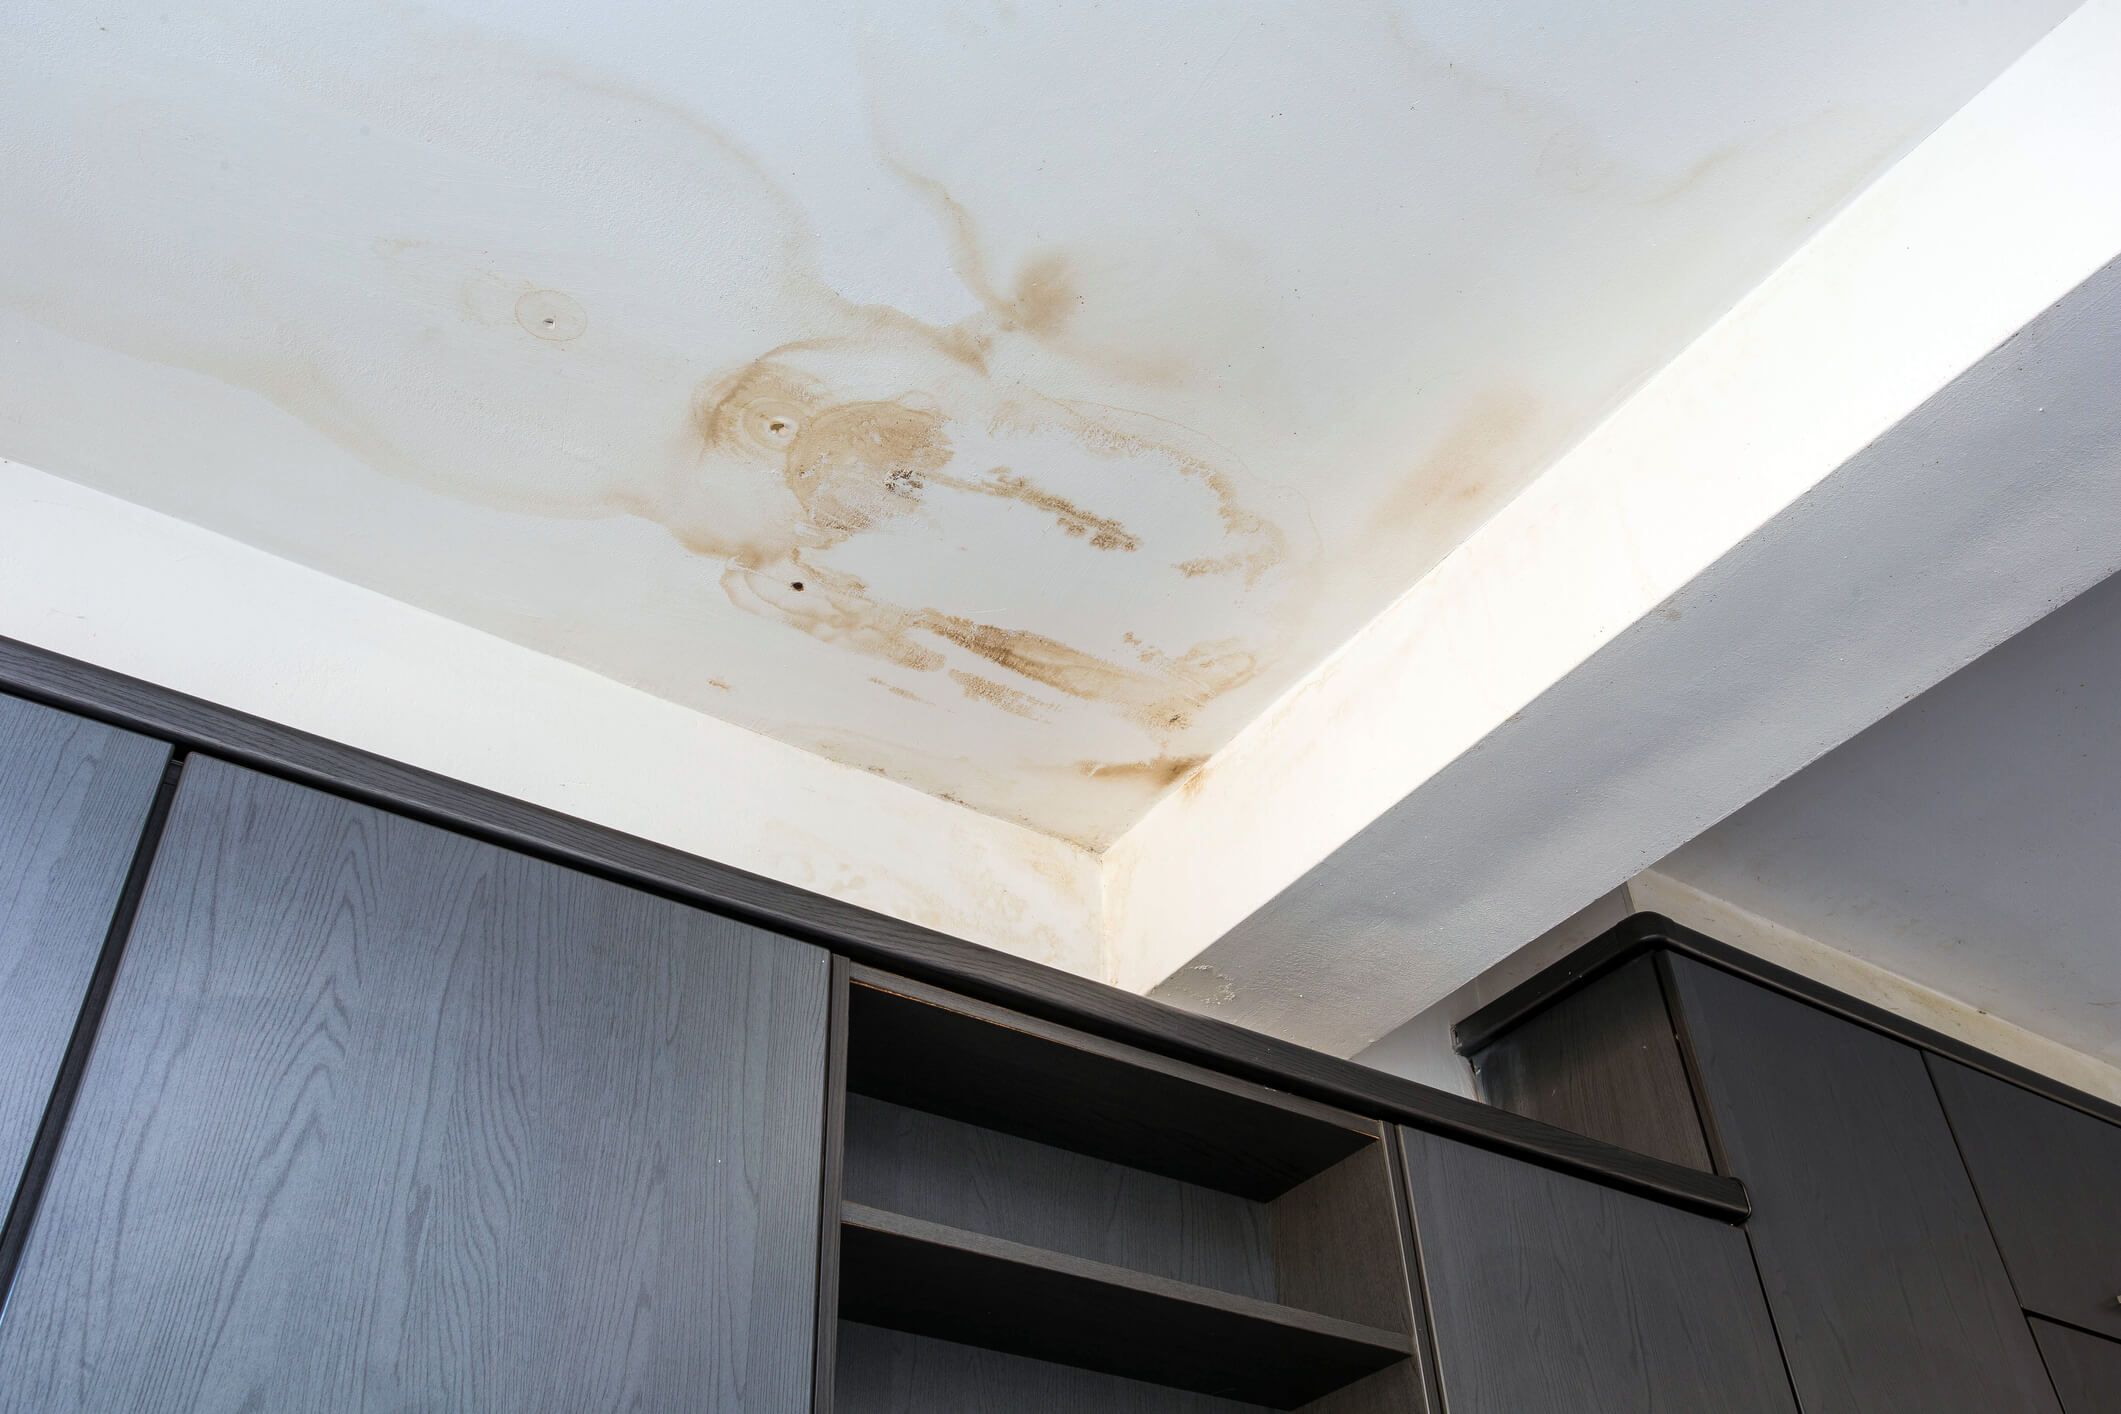
Identifying the Source of the Leak: Water Leaking From Upstairs Bathroom To Downstairs

Pinpointing the exact source of a water leak from an upstairs bathroom to downstairs is crucial for effective repair. Ignoring the issue can lead to further damage, mold growth, and even structural problems. Understanding the common causes and symptoms will help you diagnose the problem efficiently.
Common Causes of Bathroom Leaks
Leaks in upstairs bathrooms often stem from plumbing fixtures, pipes, or the shower/tub area. Here’s a breakdown of the most frequent culprits:
- Faulty Faucets and Fixtures: Worn-out washers, loose connections, or broken seals in faucets, showerheads, or toilets can cause persistent dripping or leaks.
- Leaking Pipes: Corrosion, cracks, or loose fittings in supply pipes, drain pipes, or vent pipes can lead to water seepage.
- Shower/Tub Issues: Cracks in the shower pan, damaged grout, or leaks around the shower drain are common causes of water leaks.
- Clogged Drains: A clogged drain can lead to water backing up and overflowing, potentially causing leaks into the lower floor.
Signs and Symptoms of a Bathroom Leak
Recognizing the telltale signs of a leak can help you act quickly and prevent further damage. Keep an eye out for these common indicators:
- Water Stains or Discoloration: Dark spots or discoloration on the ceiling or walls below the bathroom are a clear sign of a leak.
- Dampness or Sogginess: Feeling dampness or moisture on the ceiling or walls is another strong indicator of a leak.
- Musty Odor: A musty or moldy smell emanating from the ceiling or walls is a warning sign of water damage and potential mold growth.
- Cracking or Sagging Ceiling: If the ceiling starts to crack or sag, it’s a serious sign of water damage and requires immediate attention.
Visual Inspection of the Bathroom
A thorough visual inspection of the bathroom can help you pinpoint the source of the leak. Here’s a step-by-step guide:
- Check Faucets and Fixtures: Turn on each faucet and fixture one at a time and look for leaks or drips. Pay close attention to the showerhead, bathtub spout, toilet, and sink faucets.
- Inspect Pipes: Look for any visible signs of corrosion, cracks, or leaks along the supply pipes, drain pipes, and vent pipes. If you have access to the attic or crawl space, check the pipes there as well.
- Examine Shower/Tub Area: Inspect the shower pan for cracks, and check the grout around the shower drain for damage or loose tiles. Run water in the shower or tub and observe for any leaks.
- Check for Clogged Drains: Ensure all drains are flowing freely. A clogged drain can lead to water backing up and causing leaks.
Potential Leak Locations, Symptoms, Causes, and Actions
| Leak Location | Symptoms | Possible Causes | Recommended Actions |
|---|---|---|---|
| Faucet | Dripping, leaking, or running water | Worn-out washers, loose connections, broken seals | Replace washers, tighten connections, or repair seals |
| Showerhead | Dripping, leaking, or low water pressure | Clogged aerator, worn-out seals, loose connections | Clean aerator, replace seals, or tighten connections |
| Toilet | Running water, leaking tank, leaking bowl | Faulty flapper, worn-out fill valve, cracked tank or bowl | Replace flapper, repair or replace fill valve, repair or replace tank or bowl |
| Pipes | Water stains, dampness, or dripping | Corrosion, cracks, loose fittings | Repair or replace damaged pipes, tighten fittings |
| Shower Pan | Water stains, dampness, or leaking | Cracks, damaged grout, leaking drain | Repair or replace shower pan, re-grout, repair or replace drain |
Troubleshooting the Leak
Pinpointing the exact location of a leak is crucial for effective repair. Once you’ve identified the general area, you can employ various techniques to isolate the source.
Methods for Pinpointing the Leak
Knowing where the water is coming from will help you determine the best course of action. Several methods can be used to pinpoint the leak:
- Visual Inspection: Look for visible signs of water damage, such as damp spots, peeling paint, or warped flooring. These clues can help you narrow down the potential leak areas.
- Moisture Meter: A moisture meter measures the moisture content of surfaces. By scanning the affected area, you can identify the wettest spots, which may indicate the leak’s origin.
- Listening Device: A listening device, like a stethoscope, can help you detect the sound of running water. Place it against pipes, walls, and ceilings to listen for any unusual noises.
Temporarily Stopping the Leak
While waiting for a professional plumber, you can take temporary measures to control the leak.
- Turn Off the Water Supply: Locate the shut-off valve for the bathroom and turn it off. This will stop the flow of water and prevent further damage.
- Use a Bucket or Container: Place a bucket or container under the leak to catch any dripping water. This will help minimize the damage and prevent flooding.
- Apply Pressure: If the leak is coming from a pipe, you can try to apply pressure to the area using a clamp or a piece of heavy material. This may temporarily stop the leak, but it’s a temporary solution.
Essential Tools and Materials
Having the right tools and materials on hand will make troubleshooting the leak easier.
- Moisture Meter: This tool helps measure the moisture content of surfaces, aiding in identifying the leak’s location.
- Listening Device: A stethoscope or a similar device can help you detect the sound of running water, guiding you to the leak source.
- Flashlight: A flashlight will illuminate the area, allowing you to see the leak and any signs of water damage.
- Bucket or Container: Collect any dripping water to minimize damage and prevent flooding.
- Adjustable Wrench: This tool is used to tighten or loosen nuts and bolts on pipes.
- Screwdriver: A screwdriver is necessary for removing or installing screws on fixtures and other plumbing components.
- Gloves: Gloves protect your hands from contact with water and potential contaminants.
Repairing the Leak

Once you’ve pinpointed the source of the leak, it’s time to tackle the repair. The specific method will depend on the nature of the leak and the location of the damage.
Repairing Cracked Pipes
Cracked pipes are a common culprit behind leaks, and repairing them requires a methodical approach.
* Identify the Type of Pipe: Determine the type of pipe material (copper, PVC, galvanized steel, etc.) to select the appropriate repair method.
* Clean the Area: Thoroughly clean the area around the crack to ensure a secure bond.
* Apply Epoxy or Pipe Repair Compound: Depending on the size and location of the crack, you can use epoxy, pipe repair compound, or a pipe sleeve.
* Secure the Repair: Allow the epoxy or compound to cure completely according to the manufacturer’s instructions.
* Test for Leaks: After the repair is complete, test the pipe for leaks by running water through it.
Repairing Faulty Fixtures
Leaking fixtures are often the result of worn-out parts or faulty installation.
* Inspect the Fixture: Carefully examine the faucet, showerhead, or toilet for loose connections, worn-out washers, or damaged seals.
* Replace Worn-out Parts: Replace any worn-out washers, O-rings, or other components that appear damaged.
* Tighten Connections: Ensure all connections are tight, but avoid overtightening, which can damage the fixture.
* Check for Leaks: After replacing parts and tightening connections, test the fixture for leaks.
Repairing Damaged Seals
Damaged seals around pipes, fixtures, and tubs can cause leaks, especially in areas prone to moisture.
* Locate the Seal: Identify the location of the damaged seal, which could be around a pipe, fixture, or tub.
* Remove the Old Seal: Carefully remove the old seal using a putty knife or scraper.
* Apply New Sealant: Apply a new sealant, such as silicone caulk or plumber’s putty, to the area where the old seal was removed.
* Smooth and Cure: Smooth the sealant with a damp finger and allow it to cure completely according to the manufacturer’s instructions.
Waterproofing the Affected Area, Water leaking from upstairs bathroom to downstairs
Waterproofing the affected area helps prevent future leaks and protects the surrounding surfaces.
* Clean and Dry: Thoroughly clean and dry the affected area to ensure the sealant adheres properly.
* Apply Waterproofing Sealant: Apply a waterproof sealant, such as silicone caulk, polyurethane sealant, or epoxy, to the affected area.
* Smooth and Cure: Smooth the sealant with a damp finger and allow it to cure completely according to the manufacturer’s instructions.
